
Turn a Pi Camera Into an AI Object Detector This Weekend
Build a Raspberry Pi + TensorFlow Lite object detection camera. Spot faces, pets, cars, and 77 other objects out of the box — plus how to count, not just detect.
VC
Viraj Chaudhari
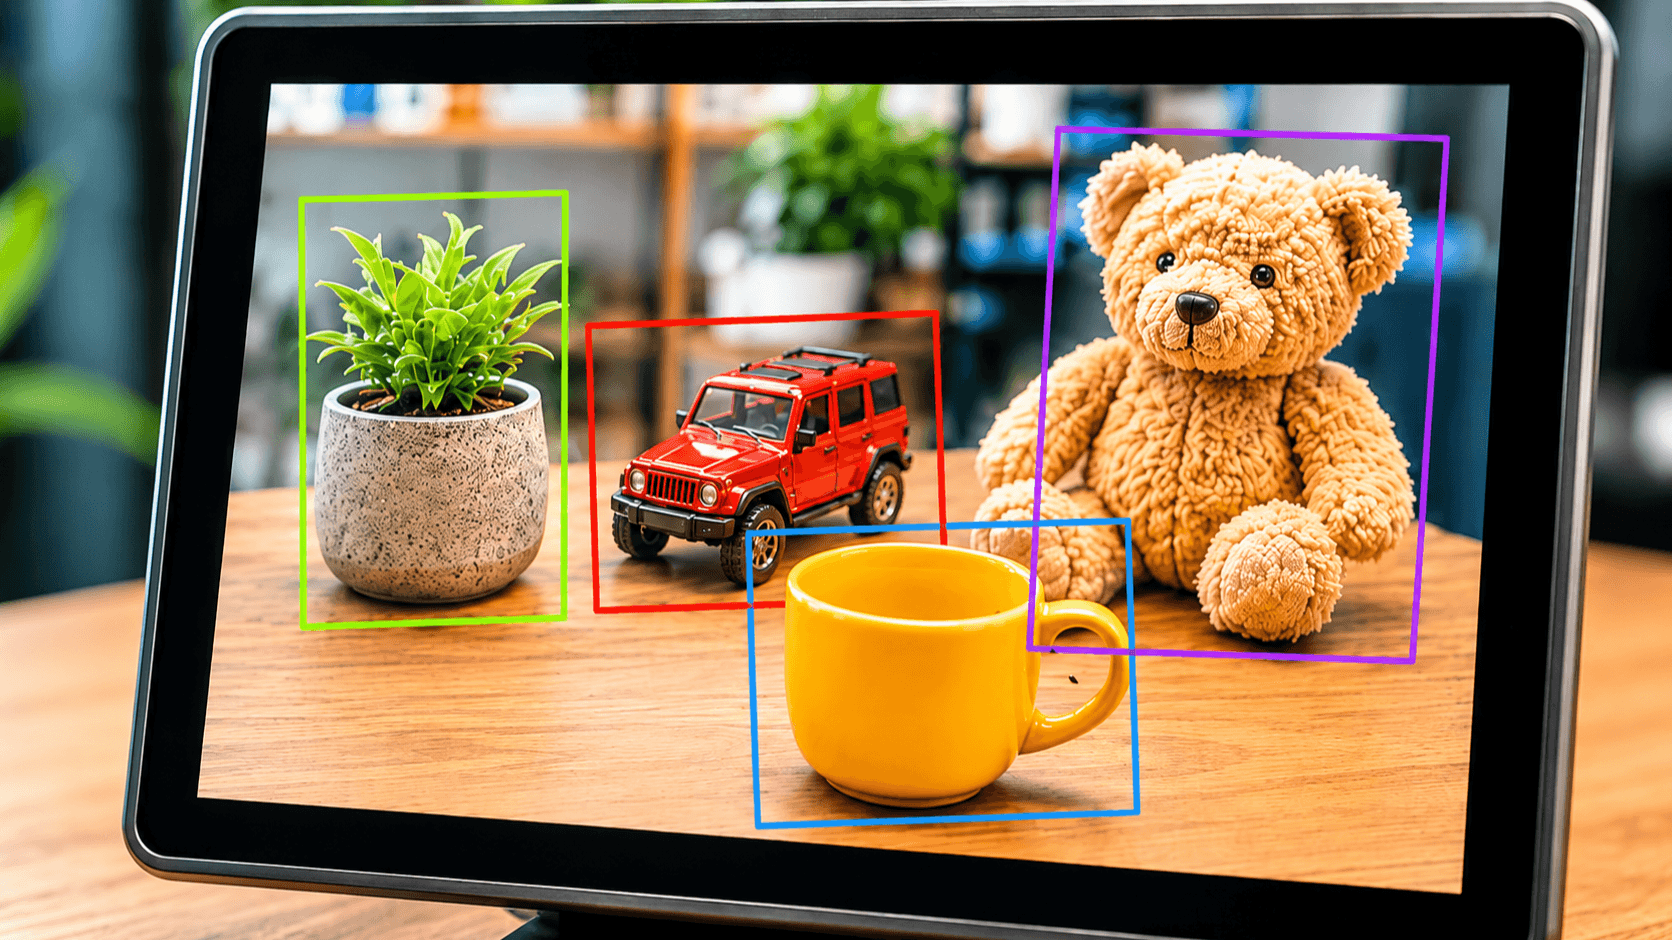
Build a Raspberry Pi + TensorFlow Lite object detection camera. Spot faces, pets, cars, and 77 other objects out of the box — plus how to count, not just detect.
I tried counting deliveries in a 6-over net session by scrubbing through phone video frame by frame. Got bored at ball 31. The Pi did the rest in 11 seconds — and didn't miss the one that clipped the edge of the screen.
That was a stock pre-trained model. No training. No labeling. No Colab time. Just pip install, a 4MB file that already knew what a "sports ball" looks like, and a Pi cool enough to run it.
By the end of this guide, you'll have a Raspberry Pi 5 doing real-time object detection on a live camera feed — drawing boxes around 80 classes, tracking each one across frames, and logging counts to a CSV you can actually use. People, pets, vehicles, balls, bikes — all out of the box. No cloud, no GPU, no monthly bill.
Don't overbuy. I see people grab Coral USB accelerators and Pi AI HATs for projects that run fine on a stock Pi 5. Save the upgrade money for your second build.
Here's your minimum bill of materials:
Total damage: roughly $132 USD / ₹10,500–13,000 for the whole stack if you source carefully.
Skip for now: Coral TPU, Pi AI HAT. You don't need them for what we're building. If you hit FPS limits later, then upgrade — not before.
Optional, worth it if you already own one: an NVMe SSD via the Pi 5 M.2 HAT+ — $35–45 USD / ₹3,500–4,500 for the HAT, plus the drive itself (a 256GB Kingston NV2 runs around $25 USD / ₹2,200). I had an SD card die after seven months of continuous detection logging — the SSD on my current build is past 14 months on the same workload, no issues. Use the SSD if you're planning 24/7 deployment, logging detections to CSV continuously, or saving video clips for later review. Stick with the SD card if this is a weekend build that lives on your desk and writes a few hundred rows total. The SSD doesn't speed up inference — that's CPU-bound — but it'll outlive an SD card by years under heavy write loads.
You'll see tutorials telling you to install full TensorFlow on the Pi. Don't.
Full TF is 400MB+, slow to start, built for training. You're not training on the Pi — you're running inference. TensorFlow Lite is the stripped-down runtime built exactly for this: 1MB binary, ARM-optimized, runs pre-quantized models at 8-bit precision.
Here's the gap I measured on a Pi 5 with the same MobileNet v2 model:
Three times faster. A seventh of the memory. Accuracy difference within 1-2%.
Your move: install only the TFLite runtime. Skip full TensorFlow entirely — pip install tflite-runtime is the whole story.
Get the hardware talking before you touch any ML. Confirm the camera works, then layer the model on top.
Flash Raspberry Pi OS Bookworm (64-bit) using Raspberry Pi Imager. Don't use the 32-bit image — TFLite ARM wheels target 64-bit and you'll waste two hours figuring out why pip can't find a wheel.
Plug the camera into CAM0 (the connector closest to the USB ports on the Pi 5). The blue stripe on the ribbon faces the USB ports. Get this wrong and the camera shows up as undetected — no error, just silence.
Boot the Pi, open a terminal, run:
libcamera-hello --timeout 5000
A preview window pops up for 5 seconds. If it does, you're golden. If you see "no cameras available," the cable's seated wrong — pop both ends and reseat them. I've had to redo this three times on fresh builds because the connector latches feel like they clicked when they didn't.
Now install your Python deps:
sudo apt update
sudo apt install python3-picamera2 python3-opencv -y
pip install tflite-runtime numpy --break-system-packages
The --break-system-packages flag feels wrong but it's the right call on Bookworm. PEP 668 blocks pip from touching system Python by default. You're working in a single-purpose Pi, not a shared server — bypass it.
You don't need to train anything to start. Google ships EfficientDet-Lite models that already know 80 objects — people, cats, dogs, cars, bicycles, sports balls (cricket balls register as "sports ball" in COCO), and 73 others.
Pull down the model:
wget https://storage.googleapis.com/download.tensorflow.org/models/tflite/task_library/object_detection/rpi/lite-model_efficientdet_lite0_detection_metadata_1.tflite -O detect.tflite
That's a 4.4MB file. Loads in under 200ms.
Here's your minimum viable detector — save it as detect.py:
from picamera2 import Picamera2
import tflite_runtime.interpreter as tflite
import numpy as np
import cv2

interpreter = tflite.Interpreter(model_path="detect.tflite")
interpreter.allocate_tensors()
input_details = interpreter.get_input_details()
output_details = interpreter.get_output_details()

picam = Picamera2()
picam.configure(picam.create_preview_configuration(
    main={"size": (320, 320), "format": "RGB888"}
))
picam.start()

LABELS = ["person", "bicycle", "car", "motorcycle", "airplane", "bus",
          "train", "truck", "boat", "traffic light", "bird", "cat", "dog",
          "sports ball", "...etc — full COCO list, 80 items"]

while True:
    frame = picam.capture_array()
    input_data = np.expand_dims(frame, axis=0).astype(np.uint8)
    interpreter.set_tensor(input_details[0]['index'], input_data)
    interpreter.invoke()

    boxes = interpreter.get_tensor(output_details[0]['index'])[0]
    classes = interpreter.get_tensor(output_details[1]['index'])[0]
    scores = interpreter.get_tensor(output_details[2]['index'])[0]

    for i in range(len(scores)):
        if scores[i] > 0.5:
            label = LABELS[int(classes[i])] if int(classes[i]) < len(LABELS) else "unknown"
            print(f"{label}: {scores[i]:.2f}")

    cv2.imshow("AI Cam", cv2.cvtColor(frame, cv2.COLOR_RGB2BGR))
    if cv2.waitKey(1) & 0xFF == ord('q'):
        break
Run it: python3 detect.py
Point the camera at a person, a chair, your dog. The terminal calls them out in real time. Your confidence threshold sits at 0.5 — bump it to 0.7 if you're getting noisy false positives in low light.
Detection on its own is half a feature. "There's a person in frame" matters less than "that's the third person this hour." For most real projects, you want counts, not callouts.
The problem: a naive counter increments every frame a person is detected, so a single person standing still for 10 seconds counts as 300+. Useless.
You fix this with an object tracker. The tracker assigns each detection a persistent ID across frames, so the same person gets ID #1 for as long as they're visible — and you only count when a new ID appears.
The norfair library does this in about 20 lines:
pip install norfair --break-system-packages
Drop a tracker into the loop, feed it your detection boxes each frame, and it returns tracked objects with stable IDs. Save (timestamp, class, ID) to a CSV every time a new ID shows up and you have a usable activity log — vehicles past your gate, birds at the feeder, people through a doorway.
I ran the same pipeline on a 90-second clip and got cleanly tracked IDs even when objects briefly left the frame and came back. The default IoU threshold of 0.3 worked for fast-moving objects — bump it to 0.5 if your subjects move slowly and the tracker keeps spawning new IDs for the same thing.
The limitation you'll hit: the pre-trained model lumps similar objects into broad COCO classes. Every round ball is "sports ball." Every four-legged pet is "cat" or "dog." If you need finer-grained distinctions — cricket ball vs tennis ball, your golden retriever vs the neighbor's lab — that needs a custom-trained model. I'll cover that workflow (shoot, label, train on Colab, deploy) in a follow-up post.
Stuff fails. Here's exactly what trips up your first build and what you do about it:
Camera shows up as "not detected" after libcamera-hello. Cable seating. Pop both ends — Pi side and camera side — and reseat firmly. The latch should click hard. If it still fails, your cable might be the wrong revision. Pi 5 needs the 22-to-15-pin variant, not the older 15-to-15.
Frame rate drops from 30 FPS to 6 FPS after a few minutes. Thermal throttling. Run vcgencmd measure_temp — if it's above 80°C, you skipped the active cooler. Order one tonight. Until it arrives, run inference in 30-second bursts with cooldowns between.
Pip can't find tflite-runtime. You're on 32-bit OS. Re-flash with the 64-bit Bookworm image. There's no workaround — don't waste time hunting for ARMv7 wheels.
Model loads but every detection is "person" with 99% confidence. The model is getting raw bytes when it expects normalized pixels (or vice versa). Check that your input dtype matches what the model wants — uint8 for quantized models, float32 / 255.0 for float models. The metadata file tells you which.
Inference works but the live feed crawls. Drop your capture resolution to 320x320 before inference. Most lite models train at this size — feeding them 1080p doesn't help accuracy and tanks your FPS by 5x.
Custom model accuracy is brutal on real-world footage. Your training images are too similar to each other. Reshoot with real variety — different times of day, different backgrounds, different distances. Data diversity beats data volume every time.
Don't let this sit in your open tabs for a week. Order the Pi and camera now if you don't already have them, flash the SD card while they ship, and have the pre-trained detector running before the weekend's out. You'll learn more from one working build than ten unread tutorials.
I've built three of these now — one for a friend's terrace garden (counting birds at the feeder), one watching my building's parking spot for the wrong car, and the cricket counter that opened this post. Every single one surfaced bugs in the first 24 hours I never would've predicted. Yours will too. Build it, run it, watch what breaks, fix it. That's the whole job.
Coming next: when the 80 stock classes aren't specific enough — distinguishing cricket balls from tennis balls, your dog from any dog, your model car from your kid's other model cars — you train a custom model. That's a separate guide, dropping soon.