A practical, current guide to building a retro gaming console with the Raspberry Pi 5. The Pi 5 is roughly 2–3× faster than the Pi 4, which means systems that used to stutter (Dreamcast, PSP, N64) now run beautifully, and you can credibly play GameCube, Wii, and many PS2 titles for the first time on a Pi.
What you can actually play
The Pi 5 comfortably emulates everything from the 1970s up through the early 2000s, plus a useful slice of the sixth console generation:
- Flawless: NES, SNES, Genesis/Mega Drive, Master System, Game Boy / Color / Advance, TurboGrafx-16, Neo Geo, arcade (MAME up through ~late ’90s hardware), PS1, N64, DS
- Very good: Dreamcast, PSP, Saturn, most arcade boards
- Playable with tweaking: GameCube, Wii, many PS2 titles, 3DS (depends heavily on the game)
- Not realistic: Switch, PS3, Xbox 360, modern PC games
Budget roughly $130–$200 depending on what you already own.
Essentials:
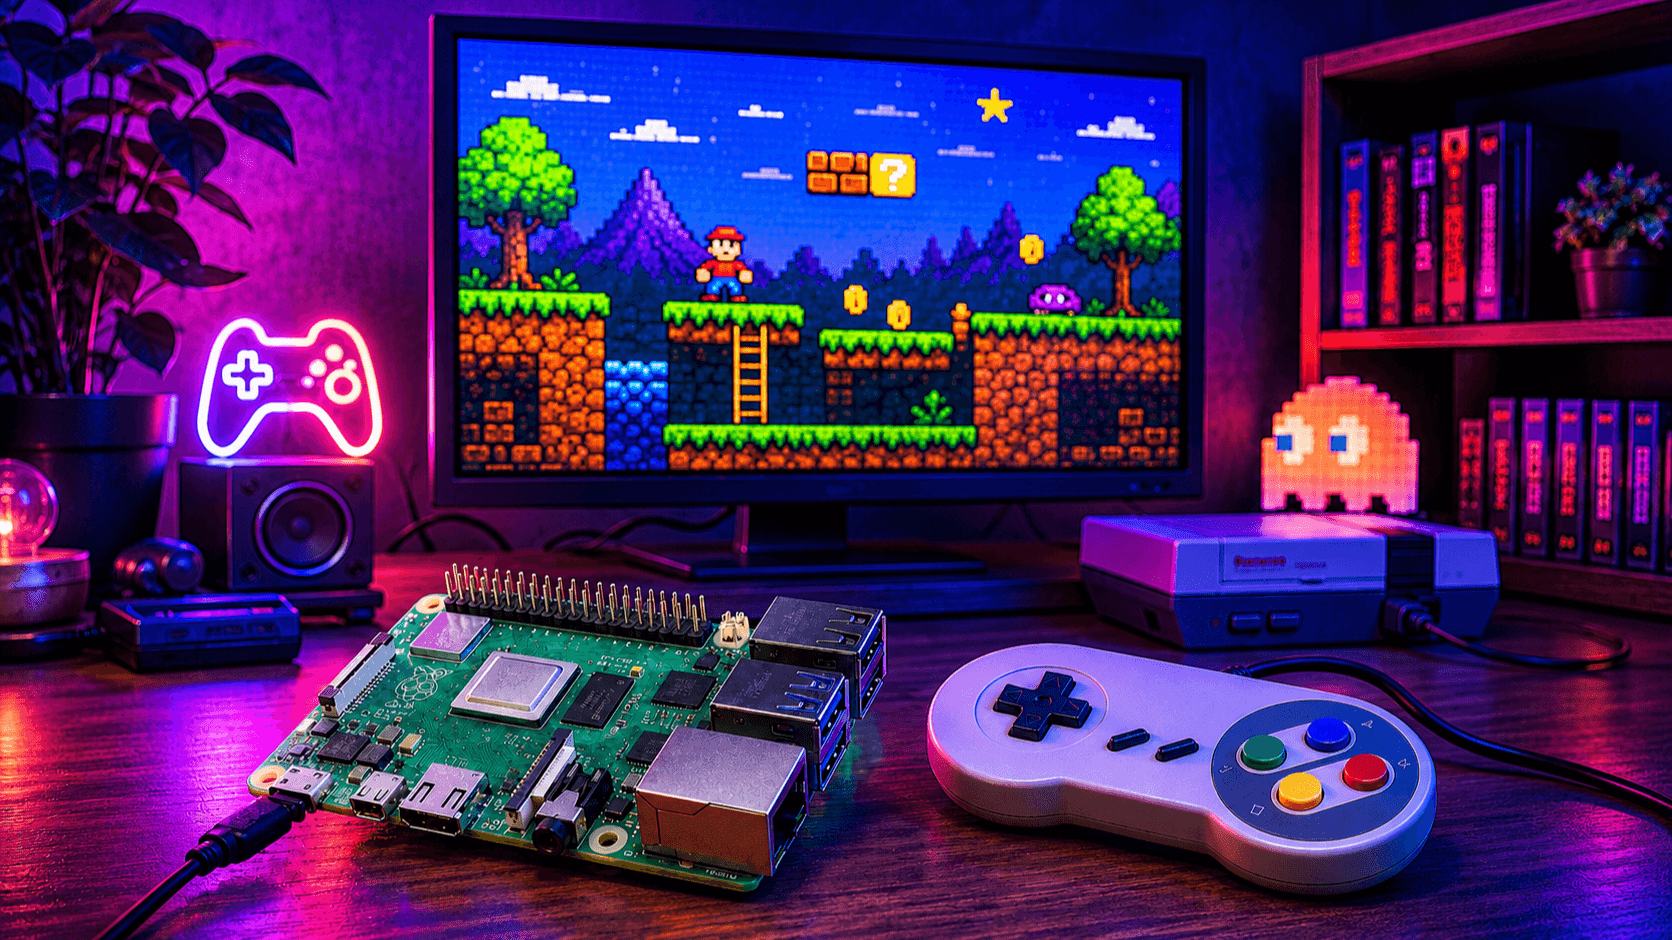
- Raspberry Pi 5 — get the 8GB model. The extra RAM matters for heavier emulators like Dolphin (GameCube/Wii) and PCSX2 (PS2). Roughly $80.
- 27W USB-C power supply — the official Pi 5 PSU. The Pi 5 is picky about power; underpowered supplies cause crashes and SD card corruption.
- Active cooling — the Pi 5 throttles without a fan. The official Active Cooler clips directly onto the board, or use a case with a built-in fan.
- microSD card — 64GB minimum, A2-rated for faster random reads. SanDisk Extreme or Samsung Evo Plus are reliable choices.
- HDMI cable — micro-HDMI to HDMI. The Pi 5 has two micro-HDMI ports; either works.
- Case — Argon ONE V3, Pimoroni NVMe Base, or a retro-themed case like the RetroFlag NESPi 5. Pick one with good airflow.
Strongly recommended:
- Controller — 8BitDo is the standard recommendation. The 8BitDo Pro 2 (Bluetooth + USB) covers everything; the 8BitDo SN30 Pro is great for 2D games. Original Xbox or PS4/PS5 controllers also work fine over Bluetooth.
- NVMe SSD + M.2 HAT+ — optional but transformative. Boot from SSD instead of SD card and load times collapse. Especially worth it if you plan to run PS2 or GameCube libraries. A 256GB NVMe + the official Pi 5 M.2 HAT+ runs about $40–$50.
Choosing your OS
Three serious contenders in 2026. Pick one and don't overthink it — you can always reflash.
Batocera (recommended for most people)
The current go-to for Pi 5. Batocera v42 has excellent Pi 5 support out of the box, including the more demanding emulators. Plug-and-play Bluetooth controller pairing, beautiful EmulationStation interface, and ROM transfer over the network with zero terminal use. Pick this if you want it to just work.
RetroPie
The classic. Was late to add Pi 5 support but is now solid. Runs on top of Raspberry Pi OS, so anything that works on a regular Pi will work here — useful if you want to tinker, add non-gaming software, or use the Pi as a general-purpose machine too. Interface is dated (the raspi-config-style menus show their age), but the community and documentation are unmatched. Pick this if you like tinkering.
Recalbox
Friendlier than RetroPie, less feature-rich than Batocera. Good middle ground. Strong out-of-box experience but a slightly smaller community. Worth a look if Batocera doesn't suit you.
Lakka
Pure RetroArch, minimalist, lightweight. Great if you want a focused emulation-only box and nothing else. Less hand-holding than the others.
Setup, step by step
This walkthrough uses Batocera since it's the simplest path. The steps are nearly identical for the others.
1. Download the image. Grab the latest Batocera build for Raspberry Pi 5 from batocera.org. It'll be an .img.gz file around 2GB.
2. Flash the SD card. Install Raspberry Pi Imager from raspberrypi.com on your main computer. Open it, choose "Use custom image," select the Batocera file, pick your SD card, and write. Takes 5–10 minutes.
3. First boot. Put the SD card in the Pi, plug in HDMI, power, and a controller (USB is easiest for first boot). Power on. Batocera will resize the partition automatically on first launch — wait for it to finish and reboot.
4. Configure your controller. Hold any button to start the input mapping wizard. Map each button as prompted. If you're using a Bluetooth controller, plug in a USB one first, then go to Main Menu → Controller Settings → Pair Bluetooth Controller.
5. Connect to Wi-Fi. Main Menu → Network Settings → Enable Wi-Fi, then pick your network. This makes ROM transfer dramatically easier.
6. Set the timezone and update. Worth doing before adding games.
Adding ROMs
Legality note first. You're legally entitled to play games you own. Dumping ROMs from your own cartridges is generally fine in most jurisdictions; downloading ROMs you don't own a copy of is not. BIOS files for systems like PS1, PS2, Saturn, and Dreamcast are also copyrighted — extract them from your own consoles. None of this guide condones piracy.
The transfer itself is trivial:
- On any computer on the same network, open a file manager and navigate to
\\BATOCERA (Windows) or smb://batocera (Mac/Linux). - You'll see folders for every supported system:
nes, snes, n64, psx, gba, etc. - Drop your ROM files into the matching folder. PS1, PSP, and Dreamcast games go in as
.chd (compressed) for best space efficiency. - Back on the Pi, go to Main Menu → Game Settings → Update Gamelists, or just restart EmulationStation. New games appear automatically.
BIOS files go in \\BATOCERA\bios. Batocera has a built-in BIOS checker (Main Menu → System Settings → Information → Missing BIOS) that tells you exactly which files you need and what their checksums should be.
Controllers
Wired USB works with no setup. Plug it in, map buttons, done.
Bluetooth works for 8BitDo, Xbox (Series and One), PS4, PS5, and Switch Pro controllers. Pair through the controller settings menu. The Pi 5's Bluetooth is much more reliable than the Pi 4's, but if you have issues, a $5 USB Bluetooth dongle solves them instantly.
Arcade sticks are well-supported. Most USB sticks (Mayflash F500, Qanba, Hori) are recognized as standard HID devices.
For authentic-feel controllers, the 8BitDo SN30 Pro (SNES-style) and the 8BitDo M30 (Genesis-style 6-button) are the standards. For N64 specifically, get a proper N64-style stick — the 8BitDo N64 Modkit or the official Nintendo Switch Online N64 controller work well.
A rough guide to what you'll get on a Pi 5 with default settings:
- 8-bit and 16-bit consoles (NES, SNES, Genesis, etc.): Full speed, accurate emulation, shaders enabled. Trivial load.
- Game Boy through GBA, DS: Full speed across the board.
- PS1, N64, Saturn: Excellent. Saturn was historically painful on Pi 4 but runs well on Pi 5.
- Dreamcast (Flycast): Full speed for nearly all games.
- PSP (PPSSPP): Full speed at native resolution, often 2× resolution for sharper graphics.
- GameCube/Wii (Dolphin): Good but game-dependent. Lower-demand titles (Wind Waker, Mario Kart Double Dash, most 2D Wii games) run well. Demanding 3D titles (Metroid Prime, Xenoblade, Super Mario Galaxy) may need lower internal resolution or have dips.
- PS2 (PCSX2/AetherSX2): Usable for many 2D and lighter 3D titles; intensive games still struggle. This is the frontier — pleasantly surprising on Pi 5, but don't expect 100% compatibility.
Tweaks worth doing
Shaders. RetroArch ships with hundreds. CRT-Royale and CRT-Guest-Advanced make pixel games look like they did on a CRT TV — scanlines, phosphor glow, the works. Try them.
Per-game configurations. Save a custom controller layout or shader for a specific game only. Pause menu → Save Game Override.
Save states. Quick-save anywhere, even in games that didn't support saving. Standard on every system.
Netplay. Batocera and RetroPie both support online multiplayer for many systems. Set up a netplay account in settings and you can join public lobbies for Street Fighter, Mario Kart, etc.
Box art and metadata. Scrape it automatically from screenscraper.fr (free account required). Main Menu → Scraper → Start. Suddenly your library looks like a proper console UI.
Overclock cautiously. The Pi 5 already runs hot. Active cooling is mandatory before any overclocking. Modest overclocks (CPU to 2.6–2.8 GHz) are stable on most boards and give a real boost to Dolphin and PCSX2.
Troubleshooting
"Undervoltage detected" warnings or random reboots: Your power supply isn't delivering enough. Use the official 27W PSU.
Controller buttons mapped wrong: Hold start, go to Controller Settings, re-run the mapping wizard. Common confusion: the "A" button on Xbox controllers is in a different position than on Nintendo ones, so your "confirm" button might be where you don't expect it.
A specific game runs slow: Try a different emulator core for that system (e.g., switch from Mupen64Plus-Next to ParaLLEl for N64), or lower the internal resolution.
SD card corruption: Always shut down properly through the menu — never just yank power. If you do this a lot, switch to NVMe boot.
No HDMI output: Make sure you're using HDMI 0 (the port closest to the USB-C power connector). Some monitors are picky about handshakes — try a different cable or display.
Bluetooth controller drops: The Pi 5's Bluetooth shares the antenna with Wi-Fi. If you're on 2.4GHz Wi-Fi, switch to 5GHz, or add a USB Bluetooth dongle.
Where to go from here
Once you have a working setup, the rabbit hole is deep: handheld builds (Pi 5 in a portable case with a screen and battery), arcade cabinets, multi-system frontends like Pegasus or ES-DE, and bare-metal projects like BMC64 that turn the Pi into a cycle-accurate Commodore 64 with no Linux at all. The Pi 5 in 2026 has matured from "cheap way to play old games" into a genuinely capable retro gaming platform — closer to a professional emulation station than the toy it started as.
Have fun.