
How to Flash Raspberry Pi OS Using balenaEtcher
Learn how to flash Raspberry Pi OS to an SD card using balenaEtcher. A simple step-by-step guide covering download, setup, and headless boot configuration.
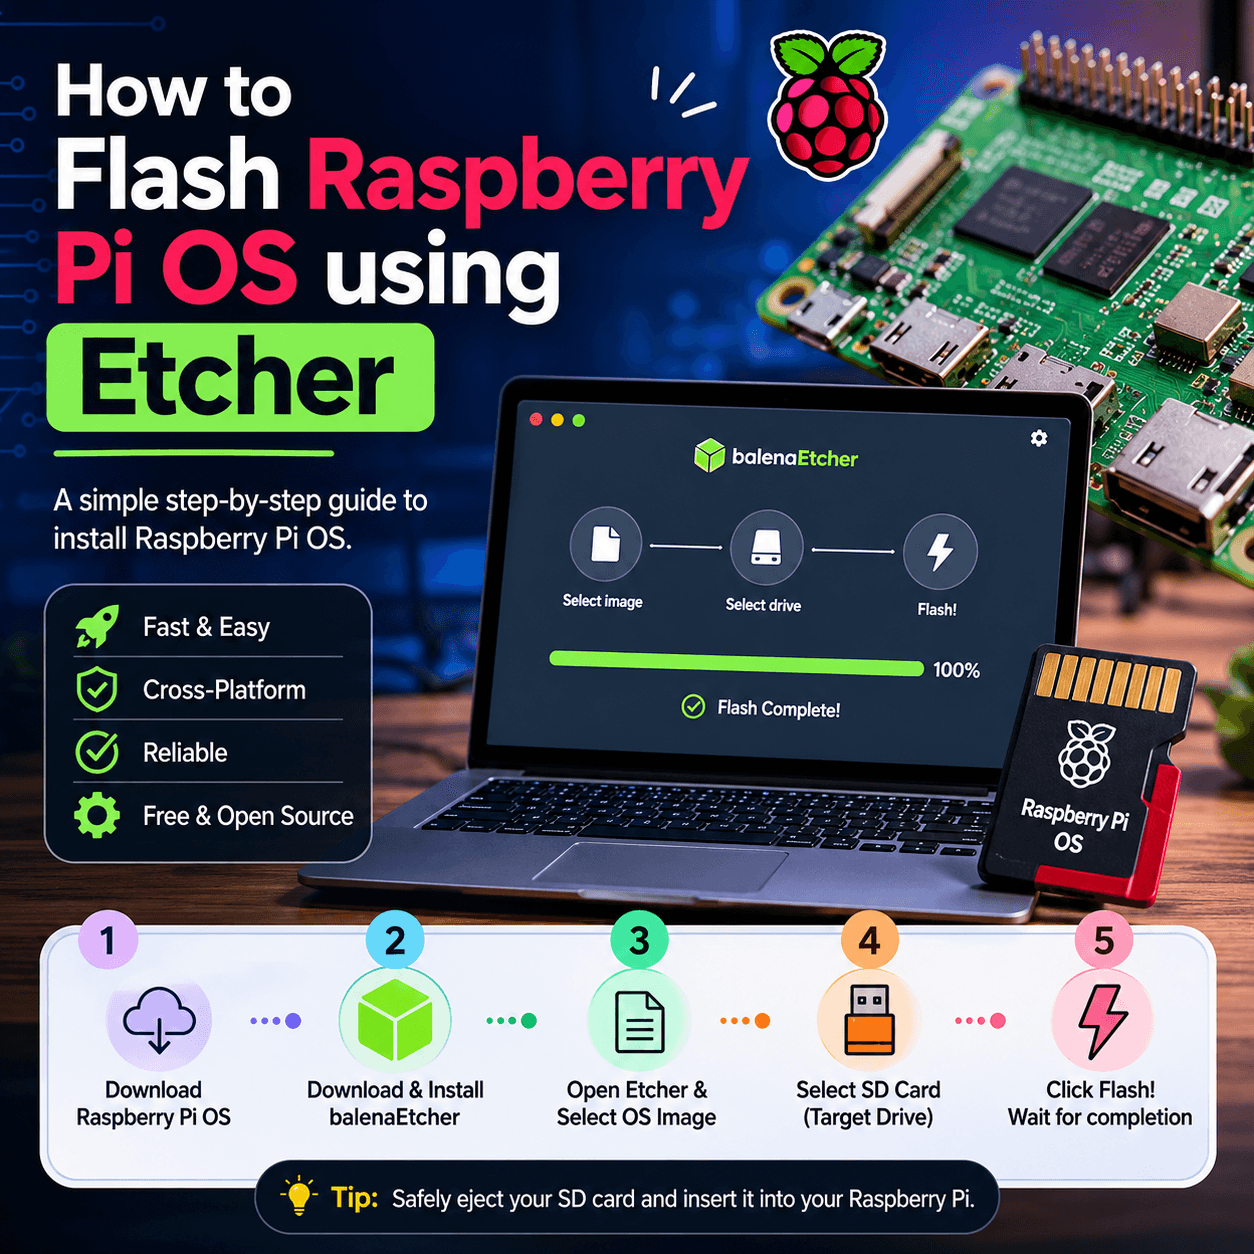
Etcher (officially balenaEtcher) is a free, cross-platform tool that writes OS images to SD cards and USB drives. Here's how to use it to prepare a Raspberry Pi OS card.
What You'll Need
- A microSD card (8 GB minimum, 16 GB or larger recommended; Class 10 / A1 or better)
- An SD card reader (built-in or USB)
- A computer running Windows, macOS, or Linux
- A stable internet connection
Step 1: Download the Raspberry Pi OS Image
- Go to raspberrypi.com/software/operating-systems
- Choose your edition:
- Raspberry Pi OS (64-bit) — recommended for Pi 3, 4, 5, and Zero 2 W
- Raspberry Pi OS Lite — no desktop, ideal for headless/server use
- Raspberry Pi OS Full — includes extra recommended software
- Click the Download link to get the
.img.xzfile (no need to extract — Etcher reads compressed images directly).
Step 2: Download and Install balenaEtcher
- Visit etcher.balena.io
- Download the installer for your operating system.
- Install and launch Etcher. On macOS and Linux you'll typically need to grant it administrator privileges so it can write to removable media.
Step 3: Insert the SD Card
Plug the microSD card (via adapter or reader) into your computer. Back up anything important on it first — flashing erases everything.
Step 4: Flash the Image
- In Etcher, click Flash from file and select the Raspberry Pi OS image you downloaded.
- Click Select target and pick your SD card. Double-check the drive letter or device name — picking the wrong disk will wipe it. Etcher hides system drives by default, which helps, but verify anyway.
- Click Flash! and enter your admin password if prompted.
- Wait for the Flashing and Validating stages to complete (usually 3–10 minutes depending on card speed). Don't unplug the card during this process.
- When you see Flash Complete!, Etcher will safely eject the card. You may see a "You need to format the disk" popup on Windows — ignore and cancel it. That's Windows not recognizing the Linux boot partition; the card is fine.
Step 5: (Optional) Enable SSH or Wi-Fi for Headless Setup
If you won't be using a monitor and keyboard, configure access before first boot:
- Re-insert the SD card so the
boot(orbootfs) partition appears. - Create an empty file named
ssh(no extension) in the root of that partition to enable SSH. - For Wi-Fi, create a file named
wpa_supplicant.confwith your network details, or — easier — use Raspberry Pi Imager instead of Etcher, which has a built-in settings dialog for SSH, Wi-Fi, hostname, and user account.
Step 6: Boot Your Raspberry Pi
- Eject the SD card from your computer.
- Insert it into the Pi's SD slot.
- Connect your peripherals and power supply.
- The Pi will boot, expand the filesystem on first run, and reboot into the desktop (or login prompt for Lite).
Troubleshooting
- "Source image is too large": Your SD card is smaller than the image. Use a larger card.
- Validation fails: Try a different SD card or reader; cheap or worn-out cards often fail here.
- Pi won't boot (no green LED activity): Re-flash the card, try a different card, and confirm your power supply meets the Pi's requirements (5 V / 3 A for Pi 4 and 5).
A Note on Tool Choice
The Raspberry Pi Foundation now recommends its own Raspberry Pi Imager for most users — it downloads the OS for you and includes the headless-setup options mentioned above. Etcher is still excellent if you already have the image file or prefer a more general-purpose flasher, but if you're starting fresh, Imager is a touch more convenient.